Mar 132014


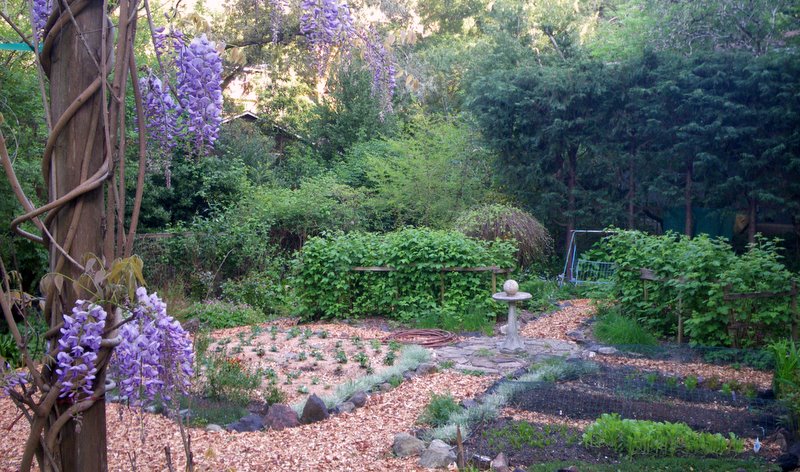
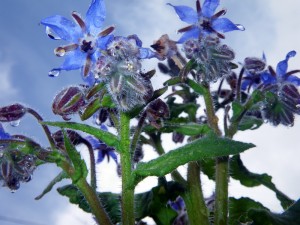
Borage in the rain

Borage in the rain

HOW TO HAVE A SUCCESSFUL GARDEN
  Hands – on workshop 

 If you love to garden and want to have the most luscious, successful, beautiful garden, then don’t miss this great opportunity to study with Avis Licht; gardener, farmer, author, teacher, landscape designer and lover of worms. Avis has been a successful gardener and landscape designer for 40 years. 

We’ll cover all the topics you need to start your garden or get your existing garden in peak shape. You’ll get to take home all the plants you sow, divide or make cuttings from.


DATES: Saturdays -April 5, 12, 19, and 26th –  from 10 am to 1 pm.

COST:  $50 per class or $160 for all four classes 

LOCATION: Classes will be in Woodacre, Ca

Contact Avis at:

avislicht@gmail.com

Directions given when you sign up

Jun 012012
 

Save 15% off on $50 or more at Gardener’s Supply Company! Valid thru 6/28/12
[really-simple-share]

Thinning clumps of apples

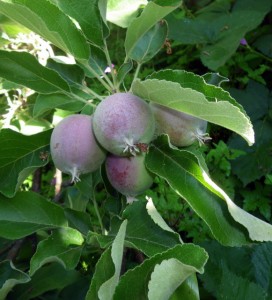
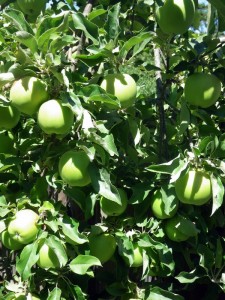
This is a cluster of fruit from one node.

by Avis Licht- It’s always hard to throw away fruit, whether it’s on the tree or in the kitchen. But for best flavor, health and size of apples, be sure to thin them early in the season. You should do this for pears, peaches and plums also. Here’s how to do it.

1.Fruit is usually born in clusters of 2 – 6 fruit.  When they are small, around the size of a dime, cut out the smallest, damaged, misshapen, or wrinkled fruit.


2. Carefully prune out the fruit at the base of the stem. Use a sharp clipper or scissors.

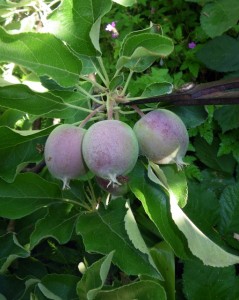
Thinning the little apples

Clip carefully.


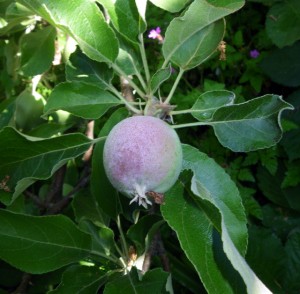
3.Be sure to leave one good apple.

Thin to one apple

Leave one apple per cluster.


That’s all there is to it.  Now you have to be patient until it’s time to harvest.

Here’s an easy, delicious recipe for apple crisp.

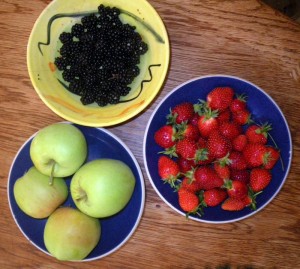
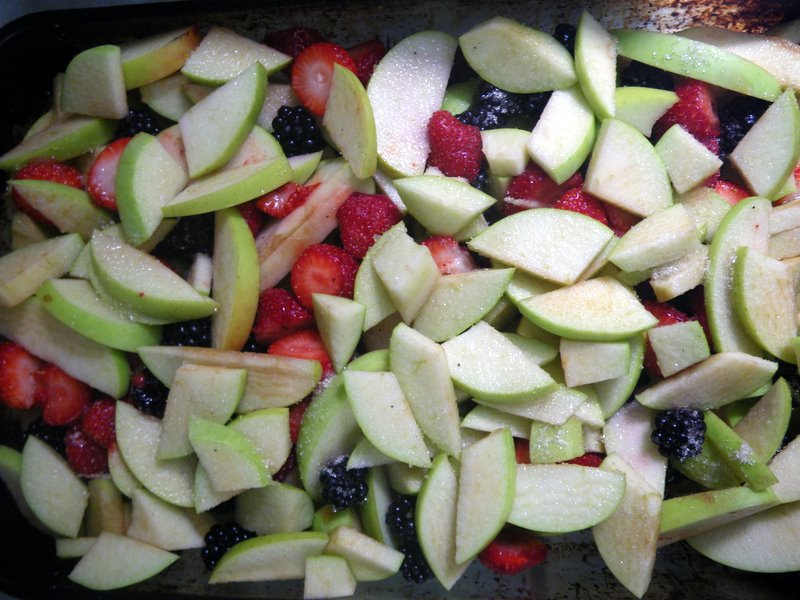
Going out into the garden to pick fruit is a really sweet thing to do.  You can be sure the fruit is fresh, organic, and ripe.  I needed something really quick to bring to a family gathering.  So I stepped out into the garden and picked a bowl of strawberries, a bowl of blackberries and some wonderfully tart apples.

Apples, blackberries and strawberries from the edible gardenBeautiful fruit right from the garden (click to enlarge)

All I had to do was rinse them off, slice the apples and put them in the pan.  If you want you can squeeze a little lemon juice over the apples.  I didn’t have any, and no harm was done. I confess to sprinkling a tiny bit of sugar over the top of the fruit.

The next step is the crumble for the top.  You can use a variety of ingredients.  I use 1/4 cup rolled oats, 1/4 cup  flour, both whole wheat and white, 1/4 cup  sugar mixed in with 1/4 cup butter and a pinch of salt. A little cinnamon and nutmeg goes well with this. Mix these ingredients over the top and voila, you’re ready to go.  Thirty minutes in 350 deg oven and you will have the best crisp you’ve ever tasted.

Special ingredients for the best apple crisp

Jan 092012
 
Red Raspberries

by Avis Licht

Raspberries are growing in the wooden stake area

Raspberries have their place in a large garden, but beware - they will spread like wildfire!

Raspberries are delicious and easy to grow, BUT they have some very big drawbacks. So before you go buying and putting those puppies in the ground read this cautionary tale. Then I’ll tell you how to prune them. Remember, this is a pruning post, not a planting post.  How to plant and care for your raspberries, will be another day.
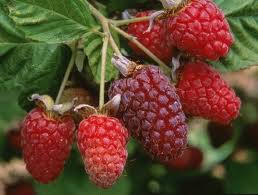
Red Raspberries

These are everbearing rapsberries, that produce in Spring and Fall

Raspberries grow from perennial roots that produce thorny canes.  They spread horizontally underground. If you live in a climate where it rains during the growing season, or if you irrigate  near the raspberries, you will find that they spread rapidly outside their growing bed.

You can do one of two things to control the spread of underground runners.  Next to your bed you can dig a trench 12 inches deep and put in a root barrier. This would be a material like aluminum, wood or plastic that will keep the runners from spreading horizontally.

Or, you can dig up the runners as you see them springing up in the garden. To my chagrin, I have found runners throughout the garden. Especially in late Spring, you can find me running around like a mad woman digging up unwanted canes. Sometimes it feels like they’re growing as fast as I can dig them up. Some people say it’s easy to dig them up, but my experience is that their roots get entangled with other plants. It’s a pain in the butt to dig them up, so Planter Beware!

If you have a small garden, with room for only a few plants, I don’t think it is worth planting raspberries.  It takes at least 10 original plants to produce enough fruit to make it worth the trouble. That would be a bed 3 ft wide by 20 ft long. Not to mention the maintenance.

On the other hand, once you’ve decided that you have enough room and can keep up with the maintenance, I say, you can’t have too many.  They cost a lot of money in the store, and when you grow them at home, you can eat as many as you want. Who can argue with that?

The most common plants are “ever -bearing” or “twice- bearing” raspberries.  You plant them in the Spring and they produce their first crop in the Fall. Prune these shoots back  in the Winter, and they produce new shoots in the spring that produce a second crop.  These canes will die back after their Fall harvest.  New shoots that come up in the Spring will produce your Fall crop.

In the winter you want to cut back all the dead canes to the ground, prune out any weak shoots that are smaller than a pencil in diameter, and cut the live canes back to 12 inches. Dead canes are brown and live canes are green.  If you have trouble telling the difference in your canes, make a quick cut towards the top of the cane. If it has green around the stem, it’s a live cane.  If the whole cross section of the cut is brown, yep, it’s dead – cut it all the way to the ground.

The pictures below show how mine look before and after pruning.
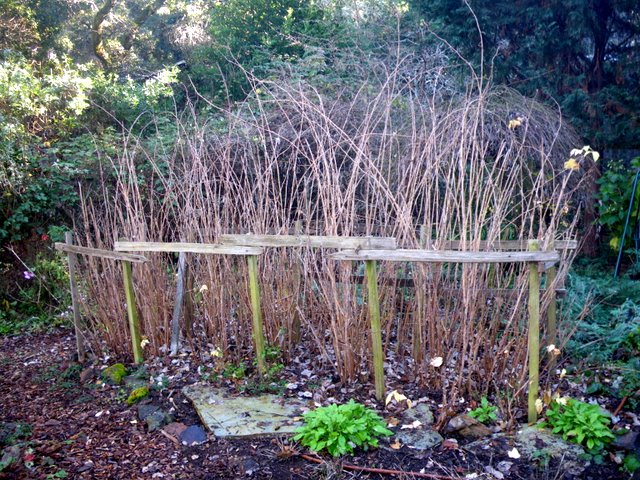
dormant raspberry canes

BEFORE: Canes of everbearing raspberries before pruning
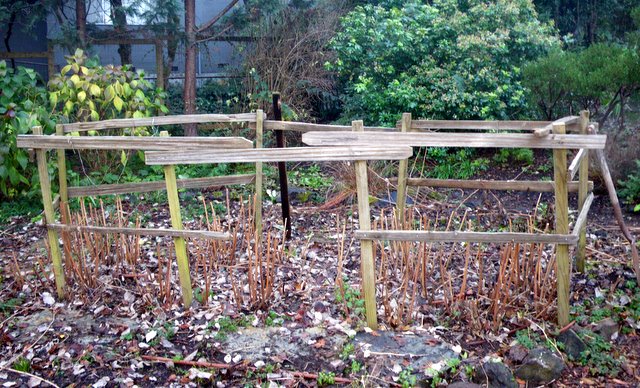
 

Pruned raspberry canes

AFTER: Canes have been pruned to about 12 inches above ground.
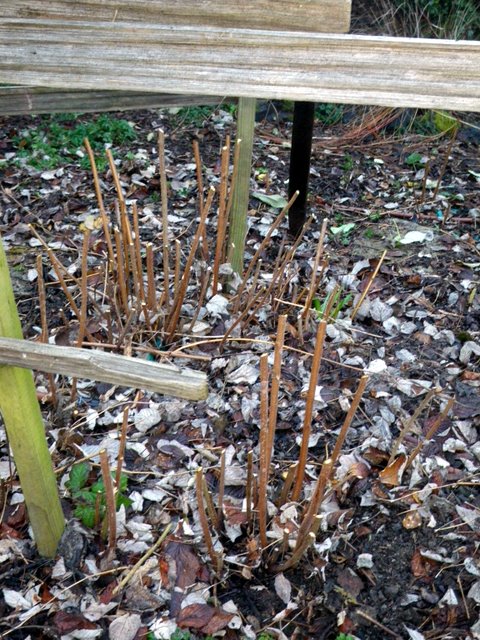
Raspberry canes, pruned and thinned

Cut out all dead and weak canes. Cut back to 12 inches

In these photos you’ll notice that I have them growing inside a simple wooden structure.  I took some old Redwood pickets, and put them in the ground around the raspberries. The cross pieces are at 2 ft and 4 ft high.  This simple training structure keeps the canes inside, upright and easy to pick.  There’s no tying or drooping.  Anything that grows outside the structure gets dug up. It also looks nice in winter when the canes are dormant.

Despite my warning about raspberries, I think they are a great plant for the edible landscape as long as you know what you’re getting into.

To find out more about raspberries read this excellent article from Fine Gardening Magazine, How to Grow Raspberries.



Dec 062011
 
Apples on the Tree
Apples on the Tree

Proper pruning can result in a bumper harvest

December is a good month to put the final finishing touches to the year’s garden.

Dormant spraying, winter protection of tender plants and planting head the list of December garden projects. Soon it will be time to prune deciduous trees and shrubs.

DORMANT SPRAYING – November, December, January and early February are the months to apply dormant spray to help control over-wintering insects and diseases on deciduous trees and shrubs. A short and simple video will help explain what dormant spraying is and how to do it. Peaceful Valley Farm Supply is a wonderful source of organic gardening tools, seeds, plants and information.

Raspberries, fruit trees, roses all need winter pruning


WINTER PLANT PROTECTION – When the weather turns really cold all of a sudden  it is a good idea to provide some special protection to tender or early flowering plants. One of the best ways to provide this protection is to simply cover the plants with some type of cloth material. First place three of four stakes around the plant then drape the burlap, old blanket or row covers over the stakes so it does not come into direct contact with the leaves of the plant. Blankets and burlap are only left in place during the cold spell, as soon as the weather moderates, remove the covering completely. If you use transparent row covers you can leave them on during the winter and plenty of light will come through.

PLANTING TREES AND SHRUBS – Fall and early winter are ideal times for planting or transplanting both trees and shrubs. During the dormant season is the time when both will transplant with the minimum amount of transplanting shock. Be sure to adequately prepare the new planting hole by adding generous amounts of compost (if available); peat moss and processed manure with your existing soil. Prepare the new planting soil about twice as large as the root system of the plant being planted or transplanted. Be sure to set the plant at the same level as it was previously growing. Large trees or shrubs should be staked to protect them from wind-whipping during strong winter wind storms. To read a more detailed explanation of choosing a tree, planting and care read this article.

Spring will come soon, and your plants will start budding out before you know it.

© 2011-2024 Edible Landscaping Made Easy With Avis Licht All Rights Reserved